|

Making
an adhesive bond to a rock was the most difficult task. Shown
above, cadets at the "Hard Rock Cafe."
Report
#4a: preparation and deployment of life-test samples
report
prepared by UCCRTS technicians:
- Bodio
- Lafleur
- Russell
- Westgate
- including
memo from MMA engineer 3/C McQueen
Today at The Mass Martime Academy Professor Sichel broke us up into
two different groups. I was in groupI. We had four cadets and three
technicans, including me. We went to the floating dock to figure out
a way of suspending the sample cage from the inside egde of the dock.
We had to collect four five-gallon buckets of sea water to bring back
to the lab.
While we were outside, we were asked to measure the water temperature
with the thermocouple thermometer. After we accomplished the first
task we all filled the working trays with a inch or two of the sea
water, making sure we kept at least two five-gallon buckets full of
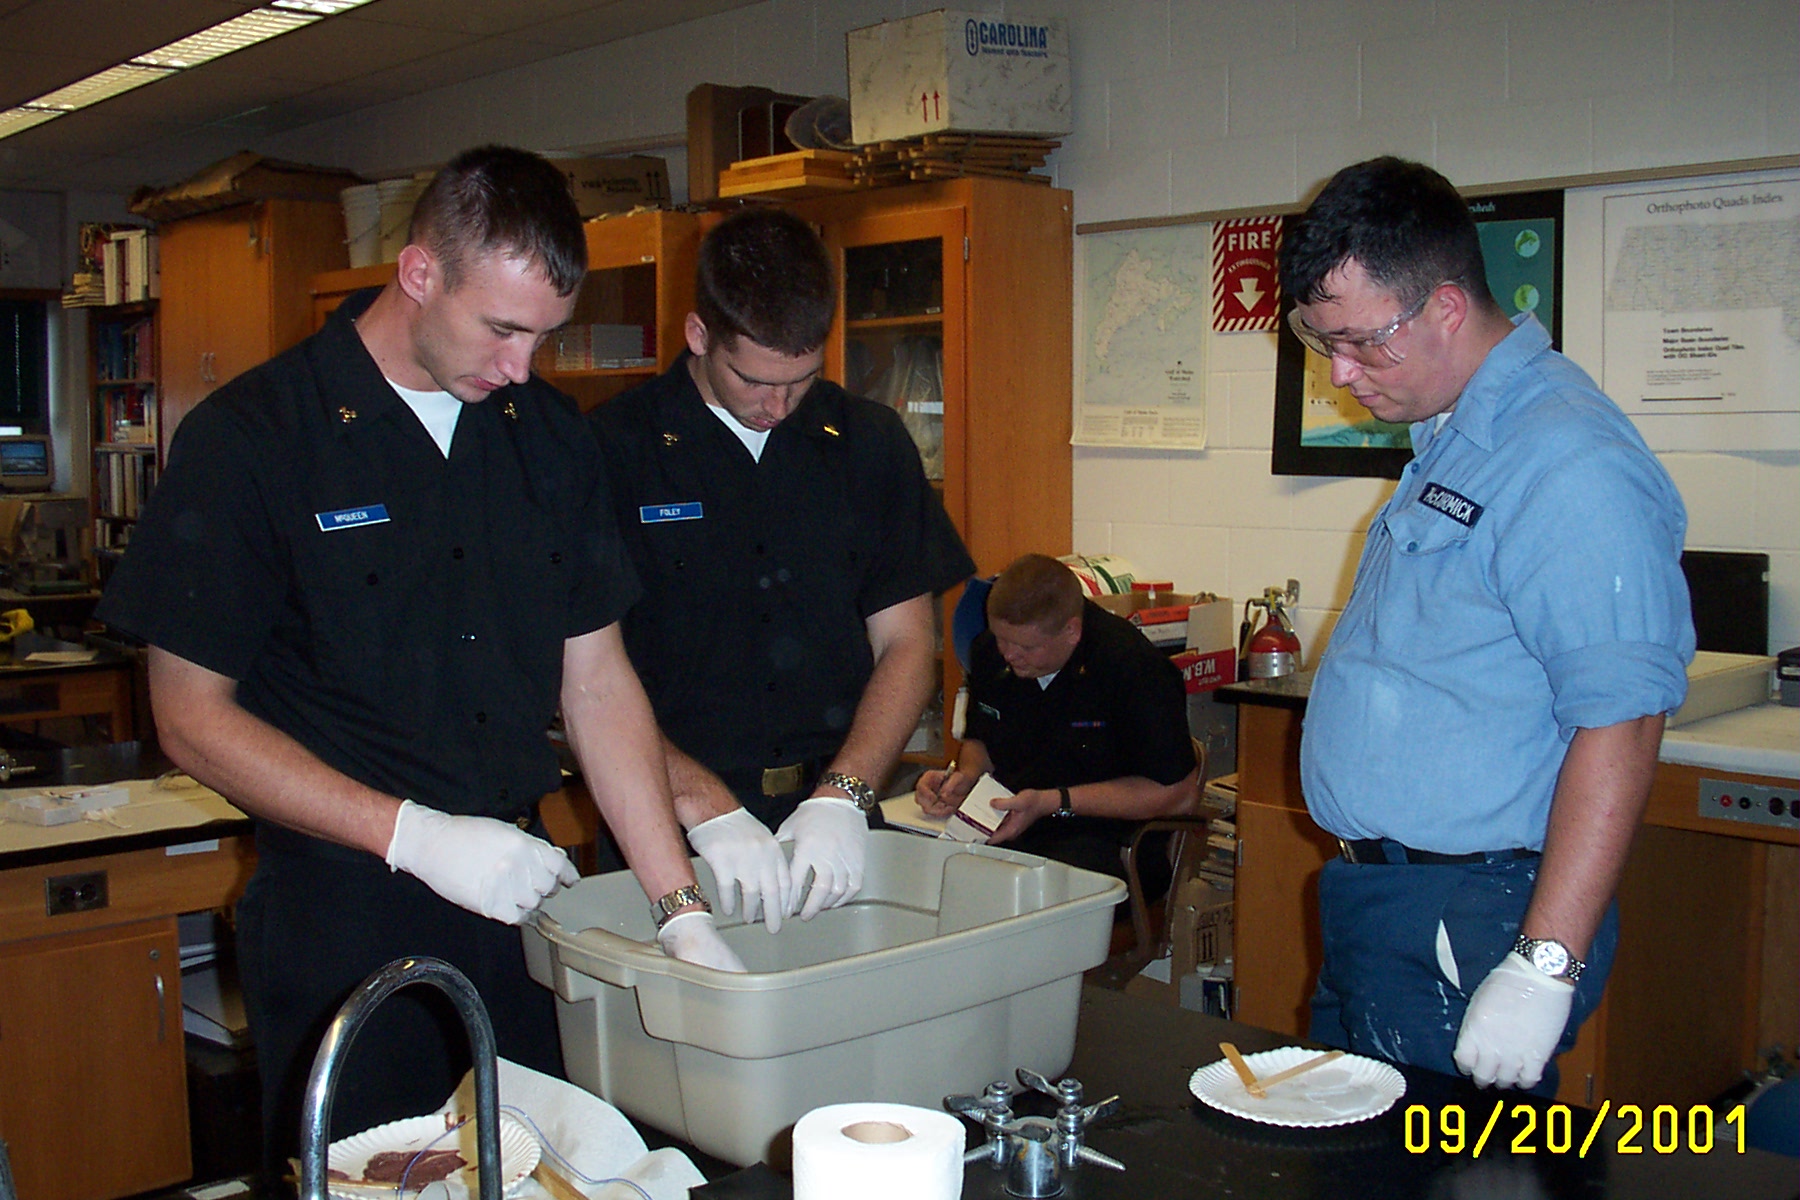
seawater for later. Then My cadet and I worked on preparing samples
of rocks under the water. Our Group tested three new expoxies with
the rocks that we had chosen (to work on). I helped cadet Holcroft
label the plastics with the correct id number that looks something
like this: 010925EPW and 010925PC-11. The (metal) tags were suppose
to work with a stylus (instead of a pen).
The chemicals that we used to do the second task were PC-11
All Purpose Expoxy white glue and Water-Proof Expoxy. (This is used
for filling in gaps and repairing pipes underwater.) We mixed the
epoxy according to the package (directions) and smoothed it on to
the rocks to see if our (metal) labels would stick. I also used
Expoxy 88, which was in the white and black tubes.
I learned if an expoxy comes off (leaving the adherend) clean on
both sides, it is considered a (failure of) adhesion. If an expoxy
comes off clean only on one side, it would be a (failure of)
cohesion.
After we did the second task we went back to the floating docks and
transferred the samples to the cage and left them outside for life
testing.
To summarize what I accomplished today: the "smart glue" marked
and made a bond with the plastic (and the rock). Ace epoxy--also
known as the store brand--stuck to the plastic under pressure,
but the epoxy didn't wet the rock (surface). PC-11 epoxy failed
(to bond to the rock).
-------------------------------------------------------------------
On September 25th 2001 I helped cadets write on tabs with indelible
ink. We wrote the codes of the adhesives and the metals we were using
on our tabs (metal marking tags). Then we measured two inches from
the bottom of the metals (for testing fixtures) and drew a line. On
the wood (fixture) we measured one and a half inches and drew our line.
These lines represent the sections that will have an epoxy on them.
Then we carefully put epoxies on our samples and pressed another sample
against it to form a bond. Example: aluminum to aluminum. After that,
we cleaned up our lab bench and went back to the classroom to discuss
last week's samples and results.
-------------------------------------------------------------------
Smart Glue
1. My lab partner and I put on our gloves and safety glasses.
2. We chose a rock with a smooth surface to start our tests with,
remembering that the volcanic rock was smooth.
3. The epoxy came in a tube, which was divided into many sections. We
followed the instructions and broke open the bottom section, pushing
its contents up through the package to mix with the substance in the
other half.
4. Next we applied the glue to the rock under the water in the tray and
then fastened the label on the rock by means of the glue, and a rubber
band in the event the glue did not hold.
5. We repeated steps 3 and 4 on a second rock, this time choosing a
rock with a relatively rough surface. We did not score either rock.
When we returned to check whether or not the epoxy adhered to the
rocks and held the label on, we found that it had. The problem
I saw was with the label itself. It did not (conform to)
the curvature of the rock so that when enough pressure was
applied in the effort to pull it off, it was accomplished easily. A
material that would conform to the rock while maintaining the strength
might be effective.
--------------------------------------------------------------------
This week my job was to go down to the docks by third company with two
other cadets and three technicians. We had to select a place where
we could later submerge our experiments in a metal cage while in an
open environment. While we were down by the water other cadets and
technicians were preparing the experiments in the lab room, by washing
and degreasing the metals. We used aluminum tags that we scribed
information onto in case the (ink) marker came off the tags while in
the salt water. The information was epoxy codes, curing conditions,
materials, and the date.
I think that the epoxy will hold up`in the conditions off the dock.
I don't think that there is too much current to disturb the samples.
My only concern is any kid of chemicals that might flow by the samples.
An idea that I came up with to label the sample under water was to use
a paint pen also called a paint marker. I went to the ACE hardware
in Borne on the Cranberry Highway in the Walmart and Super Stop and
Shop complex (to obtain such a paint marker).
Report
#4b: interview with MMA Professor Robideau on the topic of
testing strength of materials
report
prepared by MMA engineers:
The following tests can be can be completed in the (MMA) strength
of materials lab: compression, tension, peel, and shear.  The
equipment in the lab can produce forces upwards of 100,000 pounds.
For accuracy under 100 pounds the lab is not well equipped, although
there is one manual machine which is used for smaller tests.  The data
from the tests can be recorded from various gauges and a computer
generated plot can be obtained.  Any sample can be tested in
the lab as long as it can be grabbed with a clamp, which can be easily
made by a machinist.  The best way to test the materials would be to
grab the sample equally along the edge being pulled or compressed.
Dr. Robideau mentioned that the surface area that the adhesive is
applied to will effect the forces necessary to make the sample fail.
Dr. Robideau also suggested that we conduct a double shear test which
involves placing one sample in between an cutout from another and
being able to equally pull the sample apart causing no additional
forces applied to the sample, possibly skewing the results of the test.

--------------------------------------------------------------------
Q.  What equipment does this academy have, and where is it?
A.  We have the equipment to do tensile and compression tests, and
it is in the Storer Building, on the eastern side.  We have a lab
every Monday, Wednesday, Thursday, and Friday from 12-1.

Q.  What can affect results?
A.  The only thing I can think of, is the amount of surface area
applied with the adhesive, and the uniformity of the force.

Q.  Anyway we can submerge the specimens while testing?
A.  No, the closest you thing you can get to that, would be to
submerge asample, then immediatly test it.

Q. Anything else you can think of?
A. Just to test how an adhesive reacts to shear.
|
