|
Second
Lab Task
One
group of cadets and technicians will wash and scrub the metal
samples to remove grease and dirt. Use Scotch-BriteTM
soap pads. In addition to your metal and wood fixtures, you
will test your epoxy on a rock. After cleaning and drying,
get the samples ready by marking the square area to be epoxied
with pencil or waterproof pen. Also mark each sample with
its code id (below) and lay out a set of 5 fixtures at each
epoxy station.
Another group of cadets and technicians will go outside and
bring in buckets of seawater. Put the lids on the buckets
to prevent splashing, and fill the buckets about half full.
Collect one rock to test with each epoxy. The rock may be
wet or dry when you collect it. Pour seawater into the large
shallow trays to a depth of 1 or 2 inches to cover the samples.
Put some seawater in the smaller storage boxes that will go
in the refrigerator.
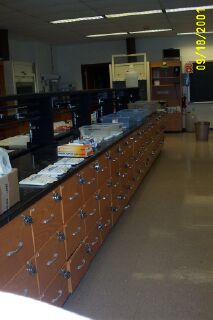
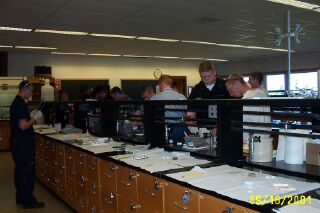
Shallow
water trays for seawater shown in first photo. Cadets and
technicians at work shown in second photo.
Repeat
the epoxy preparation, as done last week. Mix up only as much
epoxy at a time as you can use in 5 minutes. Use fume hoods
as necessary. Mix the epoxy on the bench; then apply the epoxy
with a stick to the submerged, wet samples. For the submerged
rock sample, try to mark the rock with the letters of your
epoxy (FW, 88, 911, 3070, FS, RIQ). If there is space on the
rock surface, attempt to epoxy a plastic tab (provided) or
other object to the rock. Keep the samples in the seawater
tray until you are finished, and then quickly transfer them
to a smaller covered plastic tray, filled with seawater, that
will fit in the lab refrigerator. Make a note of the refrigerator
temperature. There is a thermometer inside the refrigerator.
Sample
codes today are:
010918
FW REF OW
010918
88 REF SS
010918
911 REF CS
010918
3070 REF AH
010918
RIQ REF AL |
